Sharing is caring!
Shutters add charm and functionality to any home, but over time, they can accumulate dirt, dust, and grime, making them look old and worn. The good news? Cleaning your shutters doesn’t have to be a daunting task. With the right approach and some simple techniques, you can restore their original shine and make them look brand new. Here’s a step-by-step guide to help you get started.
Why Regular Cleaning Matters
Cleaning your shutters regularly not only keeps them looking great but also extends their lifespan. Dust and debris can build up over time, potentially causing wear and tear on the mechanisms or finishes. A quick clean every few weeks can save you money on repairs or replacements in the long run.
Materials You’ll Need
Before you start, gather these materials:
- Soft microfiber cloths or dusting cloths
- A vacuum cleaner with a brush attachment
- Mild dish soap
- Warm water
- A bucket
- A soft-bristled brush or an old toothbrush
- A spray bottle (optional)
Step-by-Step Guide to Cleaning Shutters
Step 1: Dust the Shutters
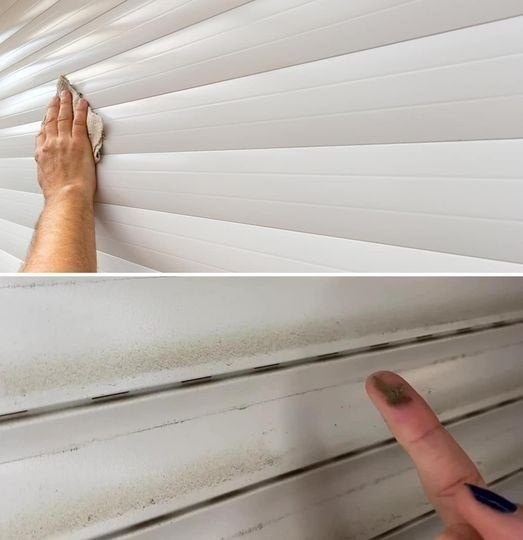
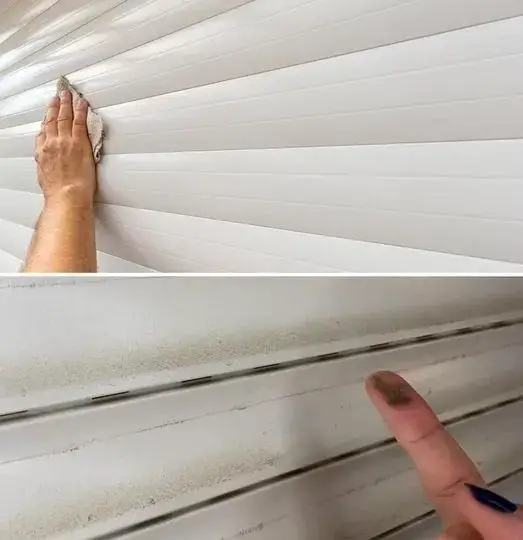
Start by removing loose dust and dirt. Use a microfiber cloth or a vacuum cleaner with a brush attachment to gently wipe down the shutters. For hard-to-reach corners, a soft-bristled brush or an old toothbrush works wonders.
Step 2: Prepare the Cleaning Solution
Mix a few drops of mild dish soap into a bucket of warm water. Avoid harsh chemicals or abrasive cleaners, as these can damage the finish on your shutters.
Step 3: Wipe the Shutters
Dip a microfiber cloth into the soapy water, wring it out thoroughly, and gently wipe each slat of the shutters. For wooden shutters, be cautious with water to prevent warping—use a slightly damp cloth instead of a wet one.
Step 4: Tackle Stubborn Stains
For stains or grime that won’t come off with a simple wipe, use a soft-bristled brush or an old toothbrush dipped in the soapy water. Scrub gently to avoid scratching the surface.
Step 5: Rinse and Dry
Once the shutters are clean, rinse them with a cloth dampened in plain water to remove any soap residue. Use a dry microfiber cloth to wipe them down immediately, preventing water spots or streaks.
Cleaning Tips for Different Shutter Materials
- Wooden Shutters:
Wooden shutters require extra care. Avoid soaking them with water and instead use a damp cloth. Once cleaned, dry them immediately to prevent warping. Consider applying a wood polish to keep them looking vibrant. - Vinyl or PVC Shutters:
Vinyl shutters are durable and easier to clean. A simple wipe with soapy water is often enough, but for outdoor shutters, you can use a garden hose to rinse off dirt. - Aluminum Shutters:
Aluminum shutters are rust-resistant but can still collect grime. Use a soft cloth and soapy water, followed by a rinse with clean water. Avoid using abrasive pads that can scratch the metal.
Deep Cleaning Outdoor Shutters
Outdoor shutters are exposed to the elements, so they may require more thorough cleaning. Here’s how:
- Hose Down First: Use a garden hose to remove loose dirt and debris.
- Scrub with Soapy Water: Use a long-handled brush for easier access to higher shutters.
- Rinse Thoroughly: Rinse with clean water to remove any soap residue.
- Dry Completely: Use a clean, dry cloth or let them air dry on a sunny day.
How to Maintain Your Shutters
- Dust Regularly: Dust your shutters every couple of weeks to prevent buildup.
- Inspect for Damage: Check for loose slats, peeling paint, or rust and address issues promptly.
- Avoid Harsh Cleaners: Stick to mild soaps and non-abrasive materials to protect your shutters’ finish.
Final Thoughts
Cleaning your shutters doesn’t have to be a time-consuming chore. With these easy steps and a little regular maintenance, you can keep your shutters looking as good as new. Clean shutters not only enhance the overall appearance of your home but also ensure they function properly for years to come.
Sharing is caring!
![]()

